Rebranding the Self Service Portal
You can rebrand the vFire Self Service portal to display the logo, colors and other distinctive brand features of your organization without having to manipulate HTML or CSS.
You can:
- Create and configure vFire Self Service log and review screens
- Rebrand the vFire Self Service portal template page (banner, menu bar, navigation bar, headings, text format)
If your system has multiple portal systems, you can rebrand each one differently.
Branding vFire Self Service Global Styles
Before you start
You must have Designer selected in your General Access Security Role.
To maintain an audit trail of changes made to screens, forms and message templates, Designer must be selected in the Auditing window.
-
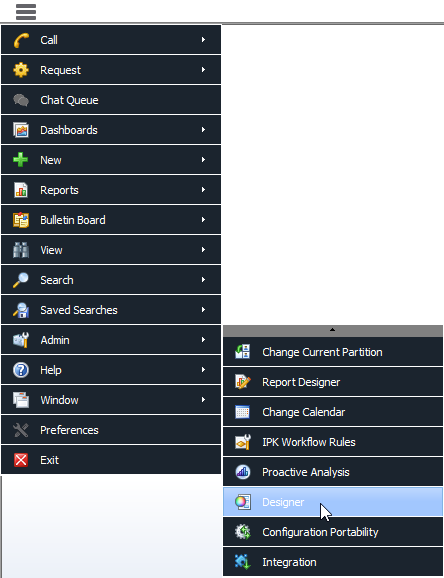
 Display the Designer window if it is not already visible on screen.
Select
 and then Admin.
From the submenu, select Designer.
This window consists of three tabs
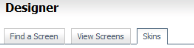 . They display different views:
Find a Screen Can be used to search for and work with specific screens, forms or message templates, as well as create new in-house screens View screens Displays details of currently selected screens and is used to modify screens Skins Enables you to create and modify skins for your vFire Self Service Portal(s) - Make the Rebranding tab uppermost
 .
. - If your system has multiple Self Service portals, ensure that you are working in the correct one by selecting from the drop down list in the top right hand corner of the window
 .
. - Within the Templates tab, select the Global Styles tab if necessary
 .
. - Select the global element you want to modify, such as Global Font, Headings, Tables and so on. In the main part of the window, the Self Service Portal Template tab is uppermost
 , and automatically previews the area of the template showing the element.
 - Back in the left hand pane, you can see a list of styles you may edit for the selected element. For example, for Global Font, you can edit the Font Family, Font Color and Font Size.
- Select the new styles, using the drop down lists. To upload a new banner image, see the section below.
-
The Section Link Rollover Color within the Side Navigation setting only applies to menu headings without subheadings, such as Latest News, as headings with subheadings are not links themselves and therefore cannot have the rollover function applied.
- Select
 at the bottom of the main pane to apply the changes, or
  to revert to the original portal template. Key in the change reasons if prompted to do so.
 - Select
 to view the changes.


Uploading an Image for the Banner
By default, the Self Service portal banner displays the vFire logo but you can replace this with your own logo.
Before you start
You must have Designer selected in your General Access Security Role.
The image must be in a supported format. Designer supports JPEG, GIF, PNG, BMP and TIFF file formats.
To maintain an audit trail of changes made to screens, forms and message templates, Designer must be selected in the Auditing window.
-
Display the Designer window if it is not already visible on screen.
Select
and then Admin.From the submenu, select Designer.
This window consists of three tabs. They display different views:Find a Screen Can be used to search for and work with specific screens, forms or message templates, as well as create new in-house screens View screens Displays details of currently selected screens and is used to modify screens Skins Enables you to create and modify skins for your vFire Self Service Portal(s) - Make the Rebranding tab uppermost.
- If your system has multiple Self Service portals, ensure that you are working in the correct one by selecting from the drop down list in the top right hand corner of the window .
- Make the Global Styles tab uppermost .
- Select Page Header in the list box
 and complete the details, selecting to preview the effect after each change:
 - Select to view the changes.
- Select at the bottom of the main pane to apply the changes, or to revert to the original portal template. Key in the change reasons if prompted to do so.
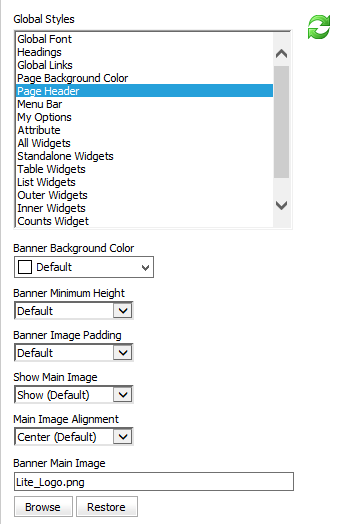
| Banner Background Color | Select the color for the background from the drop down list |
| Show Main Image | Choose whether to show or hide the banner |
| Main Image Alignment | Choose whether you want the logo to appear on the left or right hand side of the banner |
| Banner Main Image | Select  and navigate to the image you want to use. and navigate to the image you want to use.Select Open to see the name of the file in the field. |
Renaming and Hiding vFire Self Service Links and Labels
Before you start
To work with Self Service portal skins using the Designer, you must have Designer selected in your General Access Security Role.
To maintain an audit trail of changes made to screens, forms and message templates, Designer must be selected in the Auditing window.
You can rename or hide links but you cannot move them to another location on the screen.
-
Display the Designer window if it is not already visible on screen.
Select
and then Admin.From the submenu, select Designer.
This window consists of three tabs. They display different views:Find a Screen Can be used to search for and work with specific screens, forms or message templates, as well as create new in-house screens View screens Displays details of currently selected screens and is used to modify screens Skins Enables you to create and modify skins for your vFire Self Service Portal(s) - Make the Rebranding tab uppermost. .
- If your system has multiple Self Service portals, ensure that you are working in the correct one by selecting from the drop down list in the top right hand corner of the window .
- Select the Change Labels tab
 in the left hand pane.
 - Make the necessary modifications to the menu item(s), scrolling down to see the item if necessary.
- To hide a menu link, select Hide Link.
- Select to view the changes.
- Select at the bottom of the main panel to apply the changes, or to revert to the original portal template. Key in the change reasons if prompted to do so.

Displaying the Self Service Portal Template History
Before you start
To view the history of changes to the Self Service portal using the Designer, you must have Designer selected in your General Access Security Role.
To maintain an audit trail of changes made to screens, forms and message templates, Designer must be selected in the Auditing window.
You can display the history of changes to the Self Service portal template, which will record the dates of changes, the nature of the change, and the analyst who made the changes.
-
Display the Designer window if it is not already visible on screen.
Select
and then Admin.From the submenu, select Designer.
This window consists of three tabs. They display different views:Find a Screen Can be used to search for and work with specific screens, forms or message templates, as well as create new in-house screens View screens Displays details of currently selected screens and is used to modify screens Skins Enables you to create and modify skins for your vFire Self Service Portal(s) - Make the Rebranding tab uppermost. .
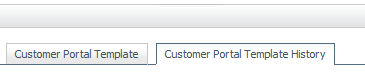
- In the main panel, the Self Service Portal Template tab is uppermost. Select the Self Service Portal Template History.
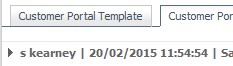
- A list of changes is displayed, along with the name of the Analyst and the date of the changes. To see more details on any of the changes, click on the arrow to the left of their name
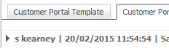 .
. - If you wish to export the history to an Excel file for reporting or auditing purposes, select
 at the bottom of the window and specify the file location in the Save As dialog box.